Check step by step procedure to convert Zimbra TGZ to PST and other file types.
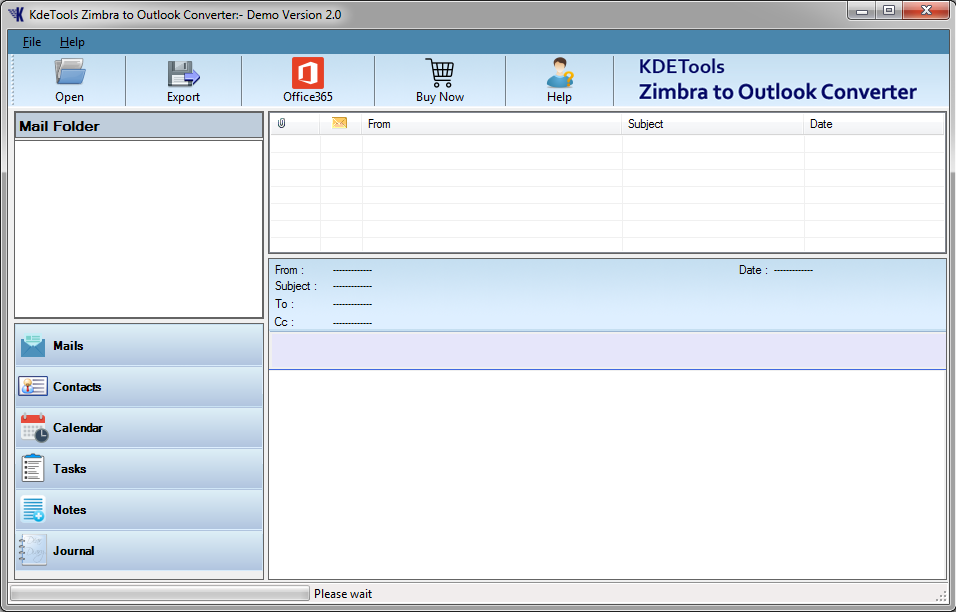
Step 1: Download, install and run Zimbra to Outlook converter..
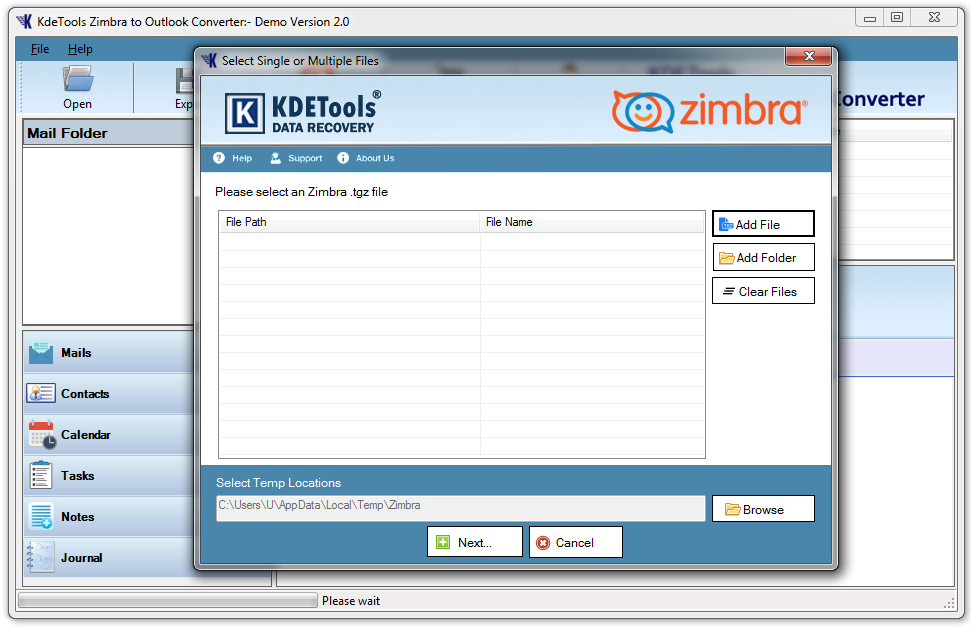
Step 2: Select "Add File" and "Add Folder" option.
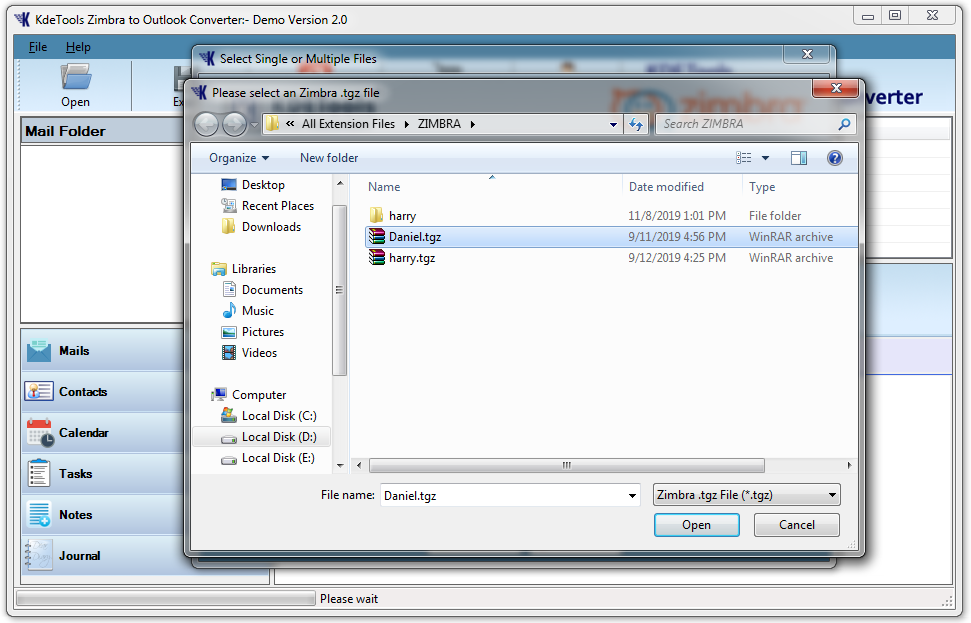
Step 3: Then, click on the "Open" button to browse the Zimbra TGZ file.
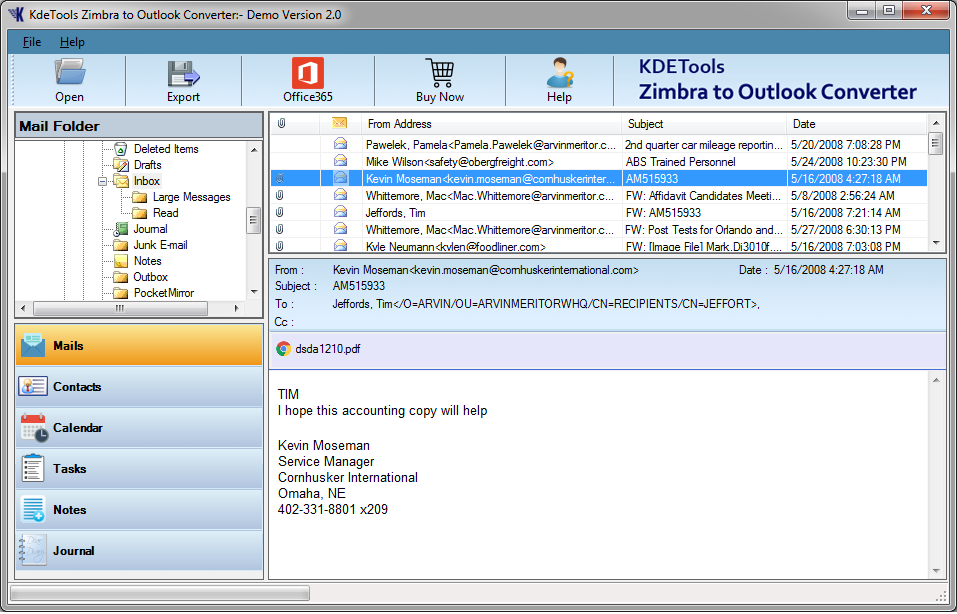
Step 4: Software automatically starts the scanning process after loading the Zimbra file. Then, you can check the preview of Zimbra mail with attachment and header details in the software preview pane.
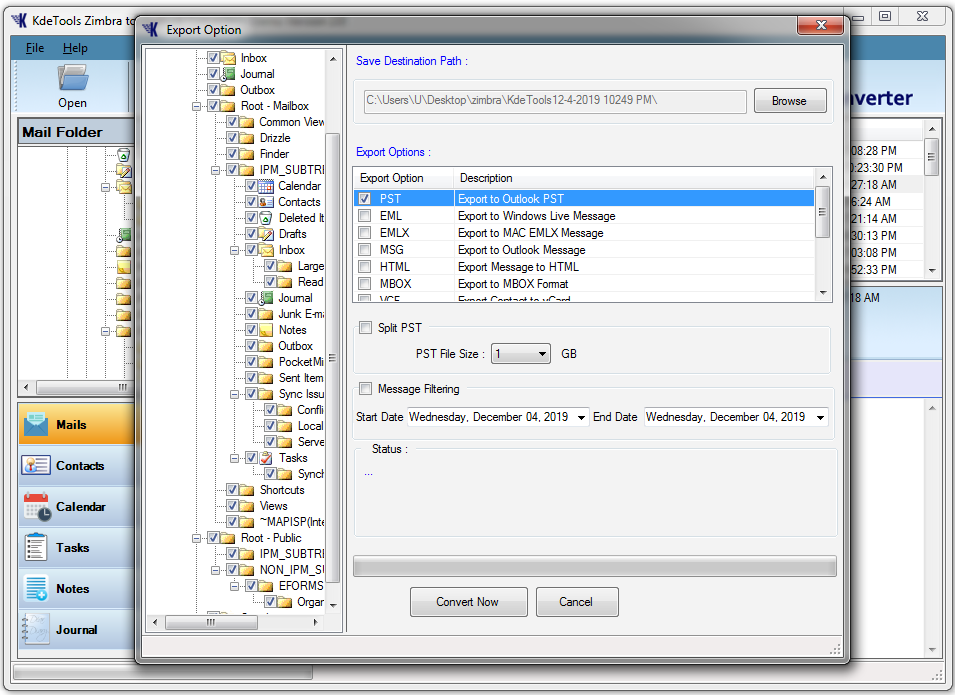
Step 5: Select the Destination path and Select PST as an export option for Zimbra to PST conversion. You can also choose the required format.
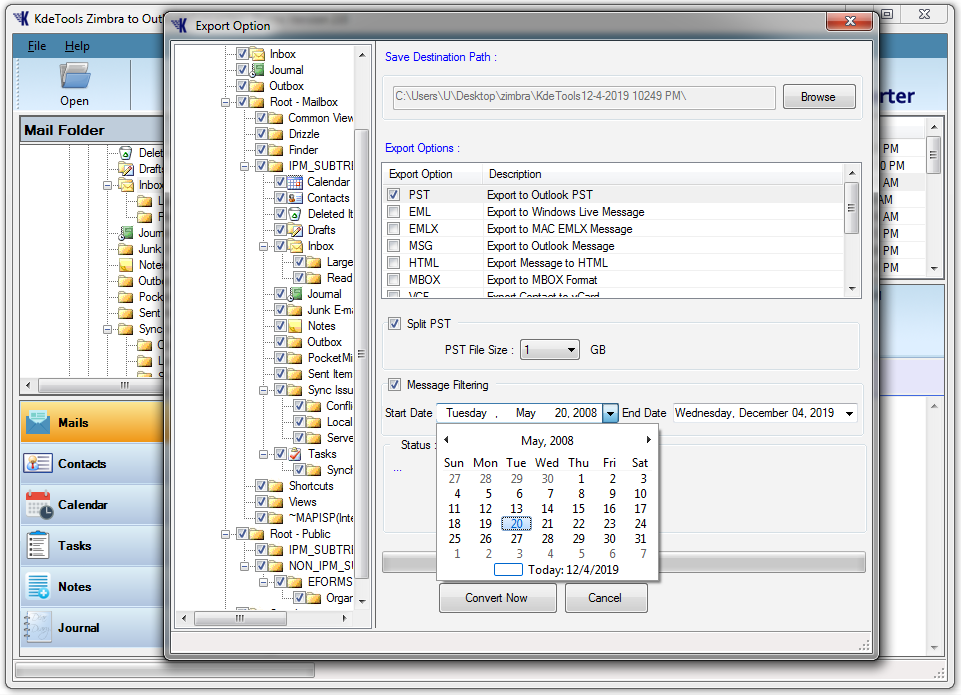
Step 6: Click on the checkbox option labeled Split PST, choose the required size and proceed to the next step.

Step 7: Click on the checkbox option labeled Message Filtering, Choose as per the date range to convert particular data.
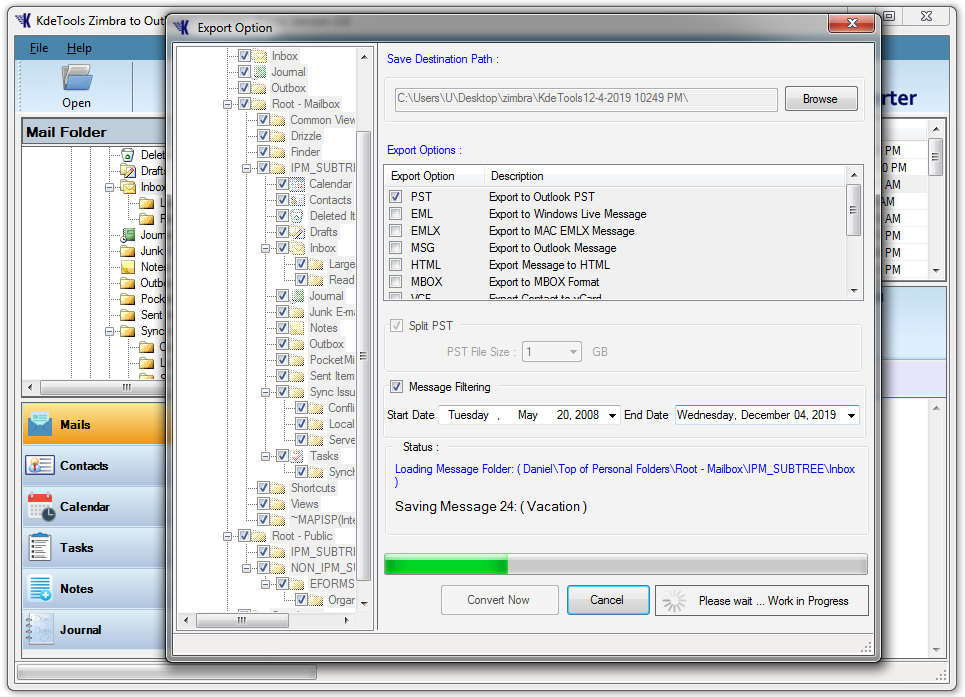
Step 8: Click on the "Convert Now" button to start Zimbra to PST conversion process.
Step 9: Import Zimbra to Office 365 account
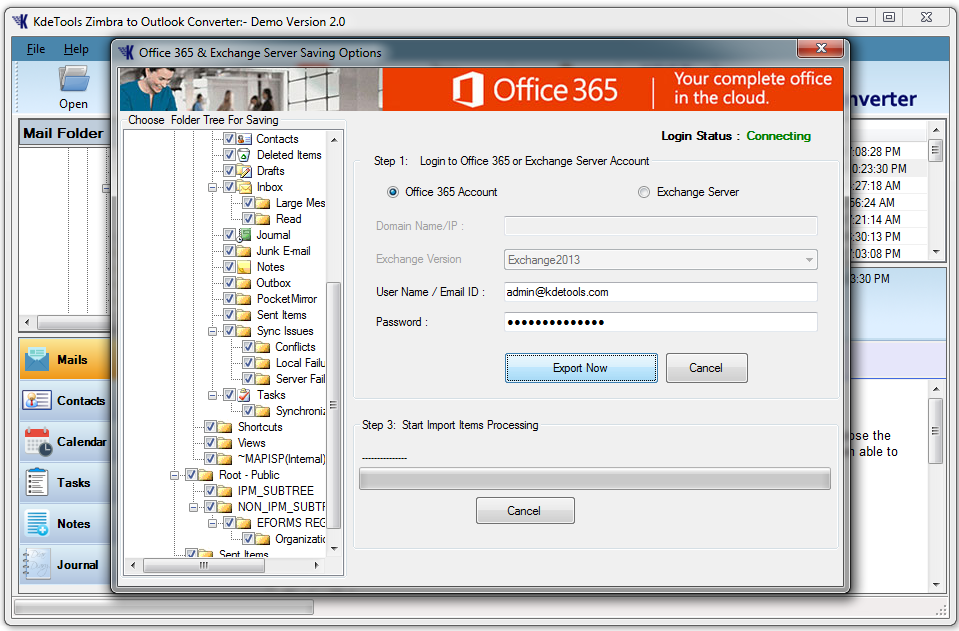
Click on the "Office 365" button from the menu. Enter Office 365 credentials.
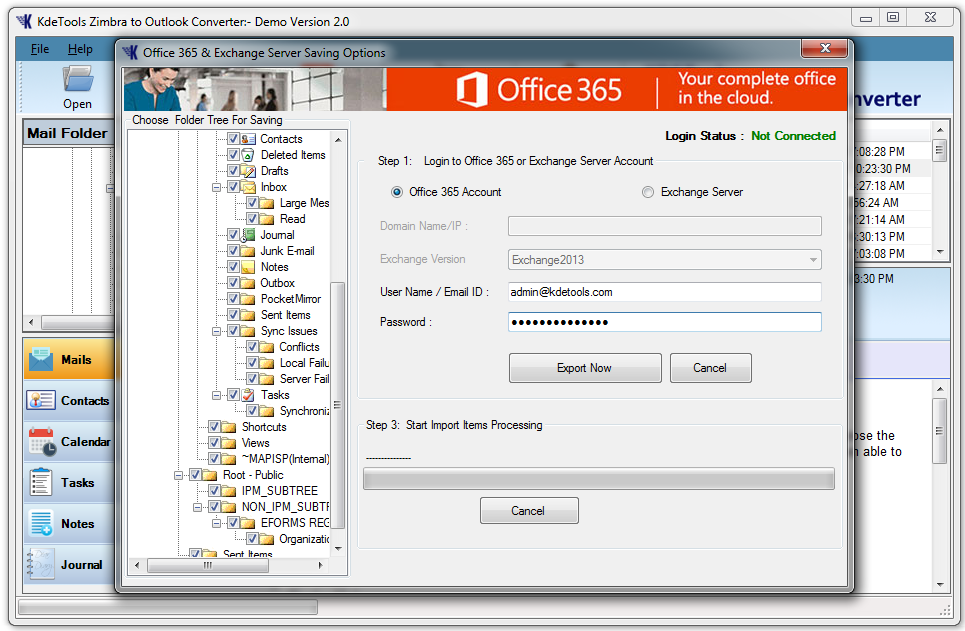
Step 10: Click on the "Export Now" button to import Zimbra file contents into the Office 365 account directly.
Step 11: Import Zimbra to Exchange Server
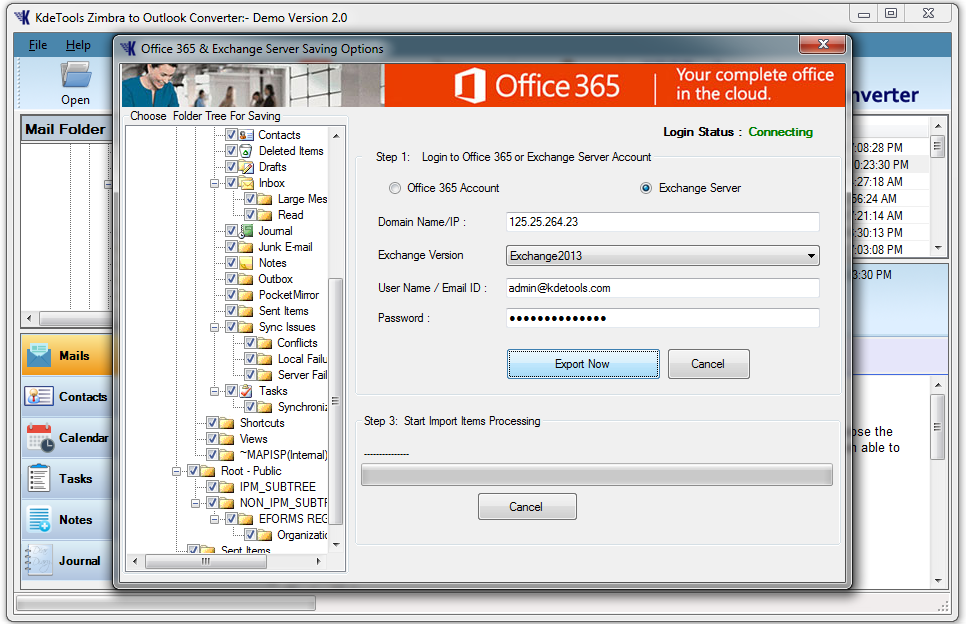
Click on the Office 365 option from the menu bar. Then, select the Exchange server option. Fill the Exchange Server Credentials.
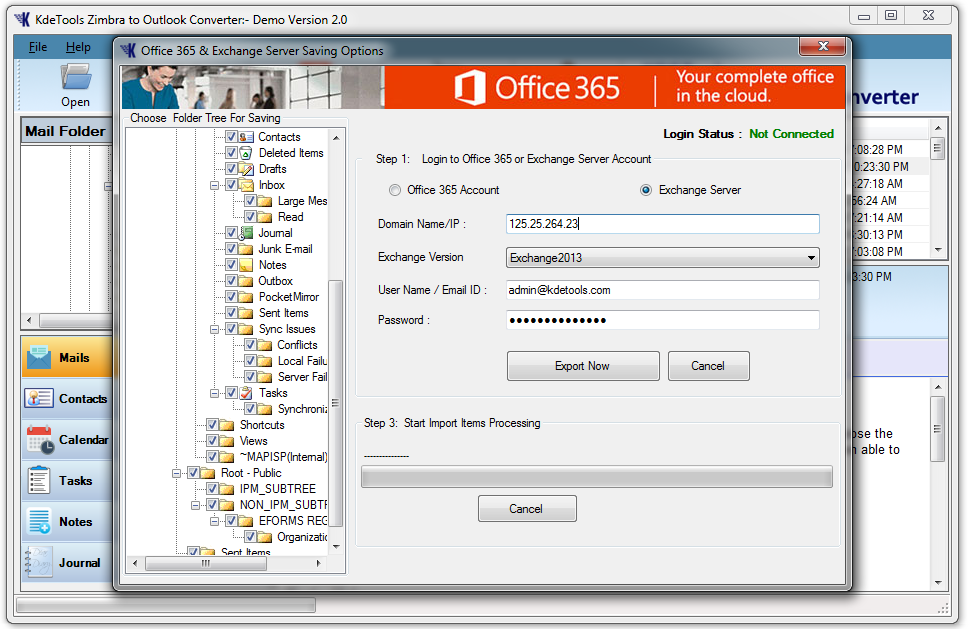
Step 12: Click on the Export Now option to export Zimbra mail to Exchange server account directly.
REACH US
18 Ely Place, 2nd Floor,
New York, NY - 10006,
United States
![]() +1-18002661001
+1-18002661001
![]() +91-9555514144
+91-9555514144
PRODUCT LINKS
OST to PST Converter
PST to MBOX Converter
Outlook PST Splitter
Outlook PST Merger
MBOX to PST Converter
NSF to PST Converter
Thunderbird to Outlook
EML to PST Converter
SUBSCRIBE
Get Latest News & Updates